MitrahSoft is an Adobe offcial partner MitrahSoft is Lucee offcial partner & core contributing developer

Stripe Payement Integration Using ReactJS & NodeJS

Stripe is a payment platform with a well documented API for developers. Stripe is the alternative for Paypal. We used NodeJS as backend and ReactJS as frontend for stripe implementation in this blog.

Following points are covered in this blog:

  • Add a payment with a credit card.
  • How to create a customer(add card details)
  • How to Retrieve a customer(retrieve added card details)
  • How to update a customer(update added card details)
  • How to delete a customer(delete added card details)
  • Refund process to paid card.
Stripe React Node
Stripe workflow

Stripe's workflow is super simple and it takes care of keeping the credit card data secure. Security is the main aspect when you are dealing with the credit card details. Our site can not run on HTTP if we accept credit cards even through stripe. We need to run our application in HTTPS.

Step 1: Add customer's credit card details with the webform.

Step 2: Stripe takes those details, encrypts the data(token) and send them to the Stripe server.

Step 3: Form the added customer id we can able to retrieve, update, delete the customers credit card details.

Step 4: Stripe provides an API to charge the card that the customer added their card in the site. By calling this Javascript API we make the payment for the customer. You need the keys (publishable & secret API key) to make call that is available in your Stripe Account.

Stripe

We need publishable & secret API key in our React application, so we need to create an account with the Stripe and our stripe dashboard looks like below image, In that we have our publishable API Key and secret API Key.
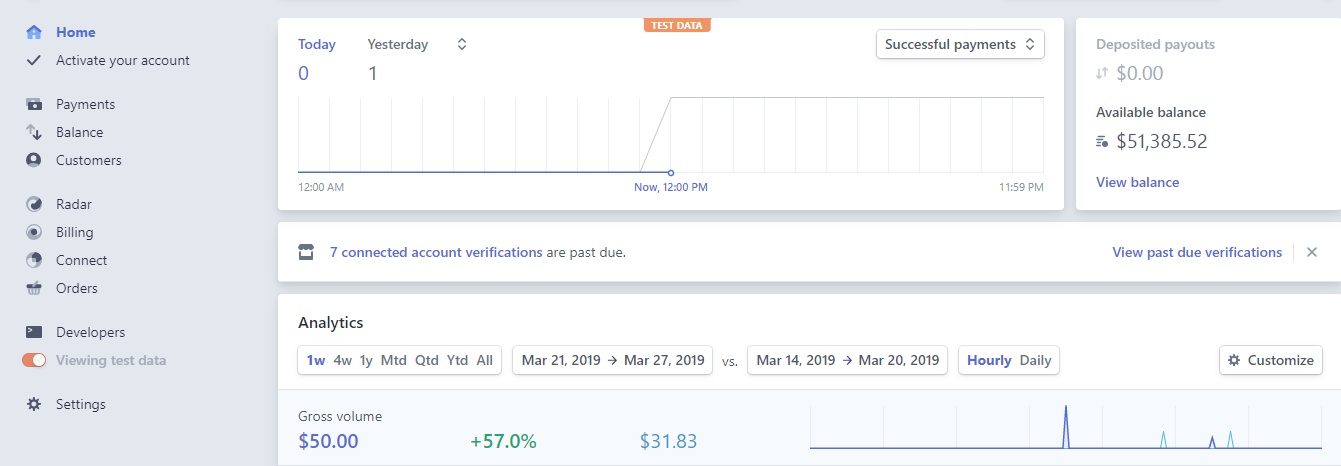
Stripe admin dashboard
In Stripe dashboard,

Test Mode: Here we can able to see only the payments were done from your test application(For development use).
Live Mode: Here we you will see real payments(For production use).

Stripe API Keys:

Publishable API key: Used in React application to generate a token.
Secret API key: Used in server application to charge the money by accessing the Stripe API.

Stripe API Keys
Stripe FrontEnd

For the front end React application we need to install the dependencies for stripe, react-stripe-elements or react-stripe-checkout. Both provides the stripe token which we later send to our backend and pretty component to capture credit card information.

Install dependencies
npm i react-stripe-elements
import { Elements, StripeProvider, CardElement, injectStripe } from "react-stripe-elements";
view raw Index.js hosted with ❤ by GitHub
StripeProvider

Component, which sets up the Stripe context for a component tree.This allows configuration like your API key to be provided at the root of a component tree.

Elements

Elements is used to wrap the component of our form and also pull data from groups of elements when tokenizing.

CardElement

It is UI for Elements, and it must be used within StripeProvider and Elements

InjectStripe

The injectStripe HOC(Higher Order Component) provides the this.props.stripe property that manages your Elements groups. You can call this.props.stripe.createToken or this.props.stripe.createSource within a component that has been injected to submit payment data to Stripe.

<StripeProvider apiKey='publishable_API_Key'>
<Elements>
<CardElement hidePostalCode={true} style={{ base: { fontSize: '18px' } }} />
</Elements>
</StripeProvider>
this.props.stripe.createToken({
name: formProps.name,
address_line1: formProps.address,
address_city: formProps.city,
address_state: formProps.state,
address_zip: formProps.zipCode,
address_country: formProps.country
}).then(({ token }) => {
if (!token) return;
//if token generated successfully, then the token will send to BackEnd.
}});
export default injectStripe(CardInfo);
view raw api.js hosted with ❤ by GitHub
Stripe Backend

Express server application, will receive the payment information from your React frontend and will pass it to the Stripe API. For this we need an Express serve

We need some node modules that are essential for our application to work:

  • express - this is our web server
  • cors - to enable cross origin resource sharing on our app
  • body-parser - used in parsing the contents of a request in a json format
  • stripe - to allow us to communicate with our stripe api

Following code is a basic setup for the server using nodejs,

const express = require("express");
const bodyParser = require("body-parser");
const config = require("./config");
const app = express();
const cors = require("cors");
app.use(cors());
app.use(bodyParser.urlencoded({ extended: false }));
app.use(bodyParser.json());
const stripeRouter = require("./src/router");
app.use("/stripe", stripeRouter);
app.listen(config.app.port, () => {
console.log(`😎 Server is listening on port ${config.app.port}`);
});
view raw stripe-node.js hosted with ❤ by GitHub

By using express node server we are going to discuss about the following API's,

  1. Create a Charge
  2. Create a Customer
  3. Retrieve a Customer
  4. Update a Customer
  5. Delete a Customer
  6. Create a Refund
Install Dependencies
npm i react-stripe
const stripe = require('stripe')('Secret_API_Key');
view raw stripe-i.js hosted with ❤ by GitHub

Which collects the customer/card details as a token from the front-end and done the stripe related process.

Create a Charge:

It is used to charge a credit card or for payment purposes, where in test mode it doesn’t make a charge to the card but in live it make a charge to the card.

const chargeCustomer = stripe.charges.create({
amount: 2000, //Required
currency: "usd", //Required
source: "tok_amex", //optional id of a card
description: "Charge for aiden.wilson@example.com"
}, function(err, charge) {
if(err){
} else {
res.status(200).send({message:"charge success", id: charge.id})
}
});
Create a Refund:

To make the refund we need to specify a charge on which to create it. Funds will be refunded to the credit / debit card which was charged previously and not refunded yet.

Const refundAmount = stripe.refunds.create({
charge: req.body.chargeId,
}, (err, refund) => {
if(refund) {
res.status(200).send({message: 'Refund successful', refundObj: refund})
} else {
res.status(200).send({message: 'Refund failed', refundObj:{}})
}
})
Create a Customer:

Create a customer with needed details like card details, address etc.,

const customer = await stripe.customers.create({
description: 'Customer for ' + id, //is just for reference
source: token_id //created by the front end createToken()
});
// customer.id is used for the further purposes
Retrieve a Customer:

Retrieves the details of an existing customer. We need to pass the unique customer id which was created while the customer creation.

const customer = await stripe.customers.retrieve(customer_id);
//customer_id which is generated while creating the customer
Update a Customer:

Update customer by the created customer id by setting the updated token to its source.

const customer = await stripe.customers.update(
customerDetails, // updated details of the customer like card number, address, name etc..,
{ 'source': token_id }, // latest token to update the older one
function (err, customer) {
if (err) {
console.log("StripeError: (update)", err);
}
}
);
Delete a Customer:

It permanently deletes the customer and stops all subscriptions.

const customer = await stripe.customers.del(customer_id,
//customer_id which is generated while creating the customer
function (err, customer) {
if (err) {
console.log('StripeError: (delete)', err);
}
});
Stripe Benefits:

It is incredibly easy to use and everything is built-in like card storage, subscriptions, and bank payouts.

Using Stripe.js you can make your own payment forms and still avoid PCI requirements.

Reasonable rates, no extra fees and awesome customer service.

Added card details in stripe dashboard :

Stripe Card Details
Stripe Demo:
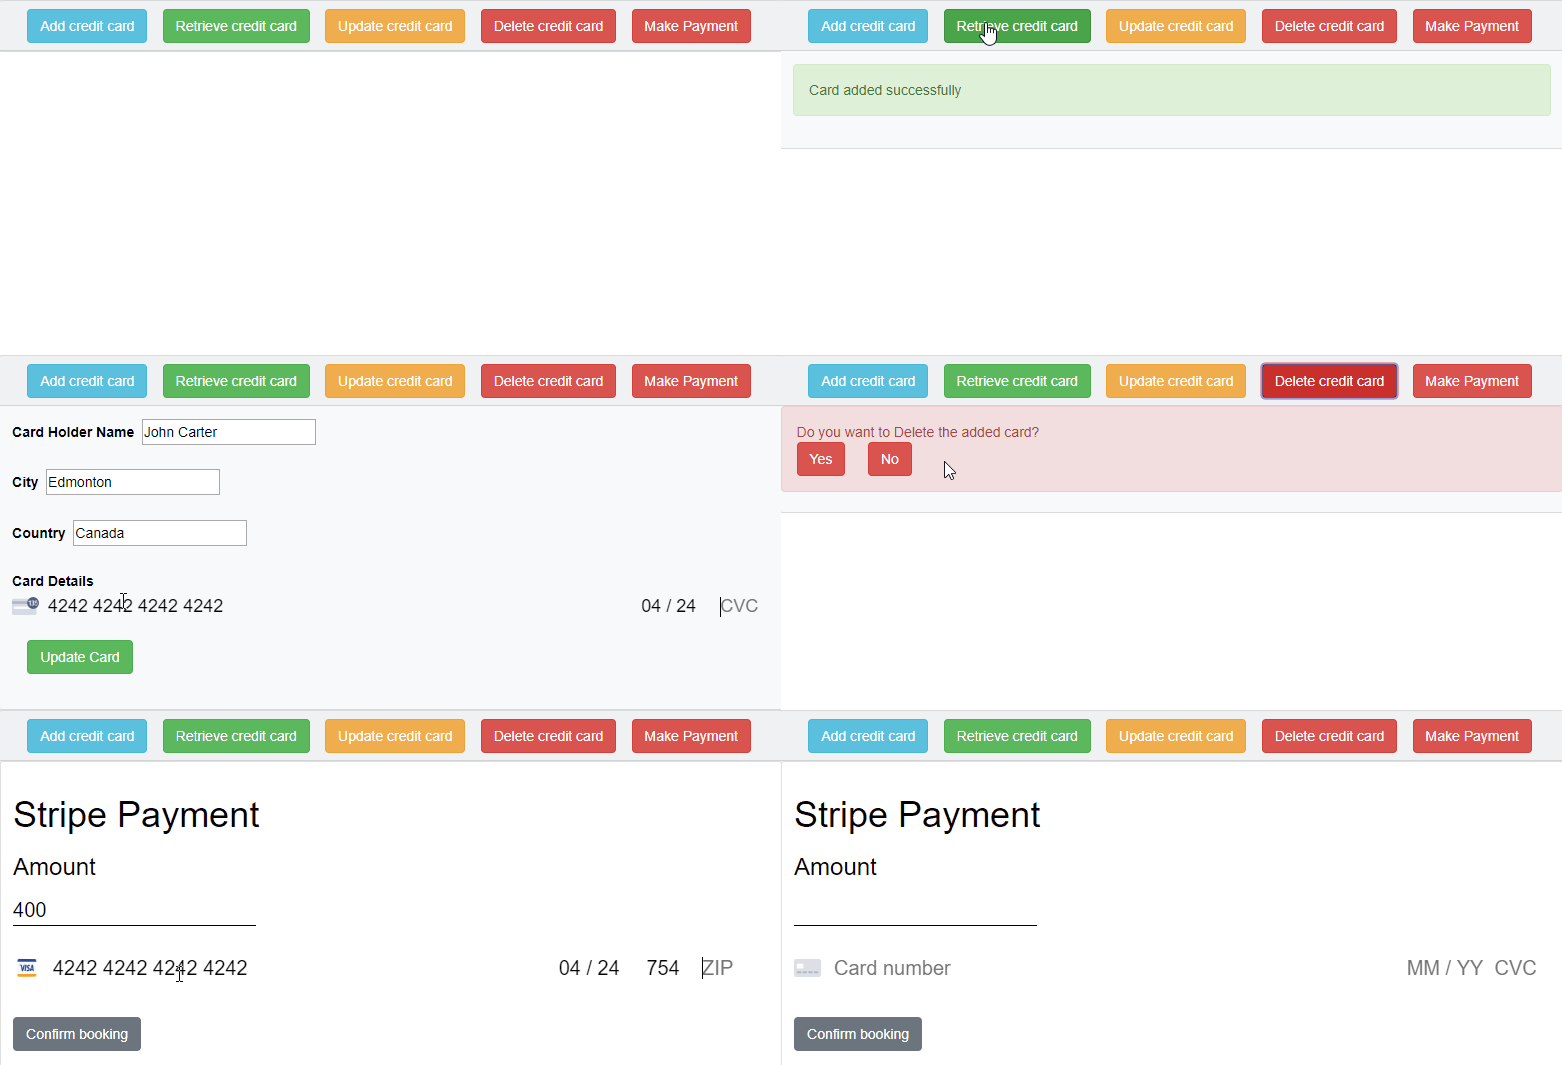
Stripe Demo