
PresideCMS is a open source product from Pixl8 Interactive which is a UK based web development company. At this point, PresideCMS compatible only with Lucee (lucee.org). Adobe ColdFusion guys have to wait or contribute to make it compatible with ACF. PresideCMS is internally using ColdBox framework. We could install PresideCMS using CommandBox very easily, you could find the document for this here.
CommandBox installation using http://undertow.io/ as a web server, But undertow is not a viable web server option for any production level application. Most of us use Apache, IIS or nginx as a production web server. Here at MitrahSoft we use Windows as primary operating system & Apache as a primary web server. In this blog post, We explain how we configured PresideCMS in a Apache virtual host. This blog post assumes you already have Apache up and running using Lucee.
Change virtual host configuration in your Apache vhost configuration file something like below code snippet, Configuration file will be somewhere in c:\**apache-instatlltion-path**\conf\extra\httpd-vhosts.conf
Add this new virtual host configuration in your Lucee server configuration file too, this will be somewhere in C:\**lucee-instatlltion-path**\tomcat\conf\server.xml
After changing both Lucee & Apache configuration files, please restart your Lucee & Apache services. Just place a dummy index.cfm at your webroot of virtual host to see whether your virtual host configuration working & cfm page served by lucee.
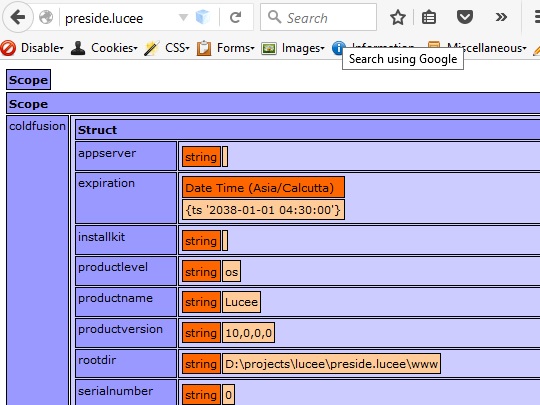
This section is clearly explained in PresideCMS official documentation. One main point you need to take care is,
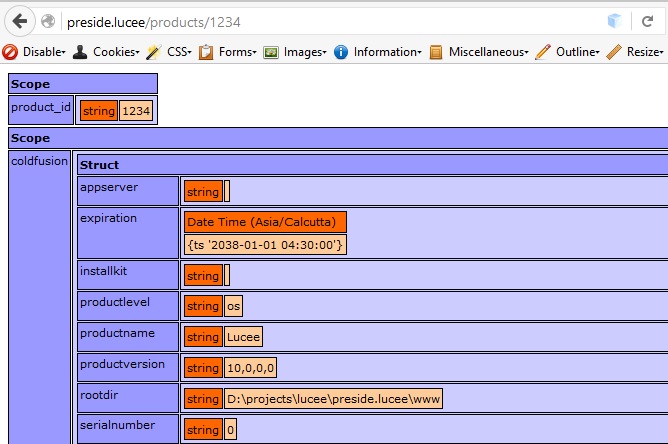
After changing the web.xml file, Please restart your Lucee service. To verify Tuckey URL rewrite is working in your Apache / Lucee virtual host, please below urlrewrite.xml file at your webroot of virtual host & try to run http://preside.lucee/products/1234, you should get the product ID as 1234 in URL scope dump as like below screenshot
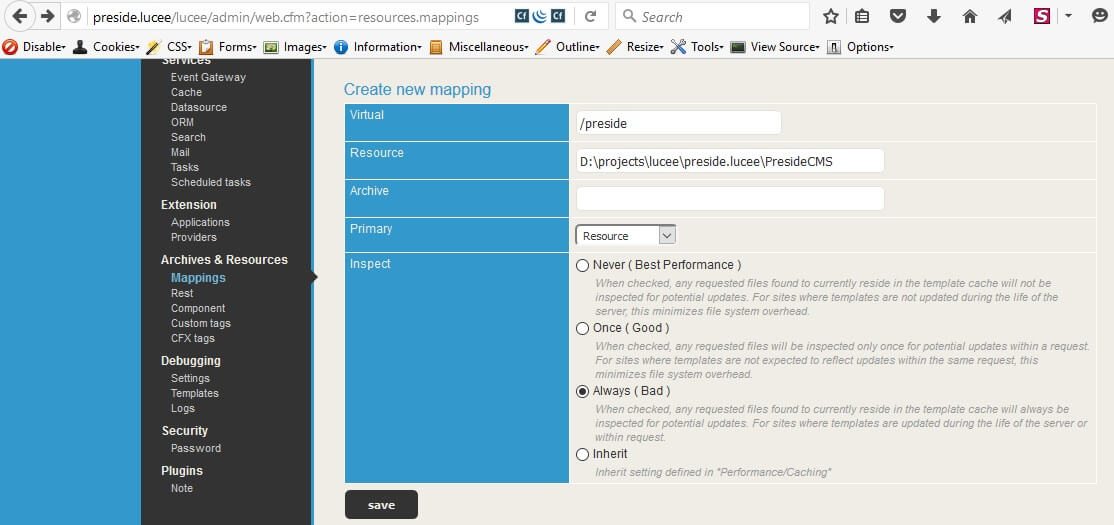
Download latest version of presideside from https://www.presidecms.com & place it outside the web root. Handy URL for the download is here. The mapping should have a logical path of /preside and point to the physical directory in which you have PresideCMS downloaded.
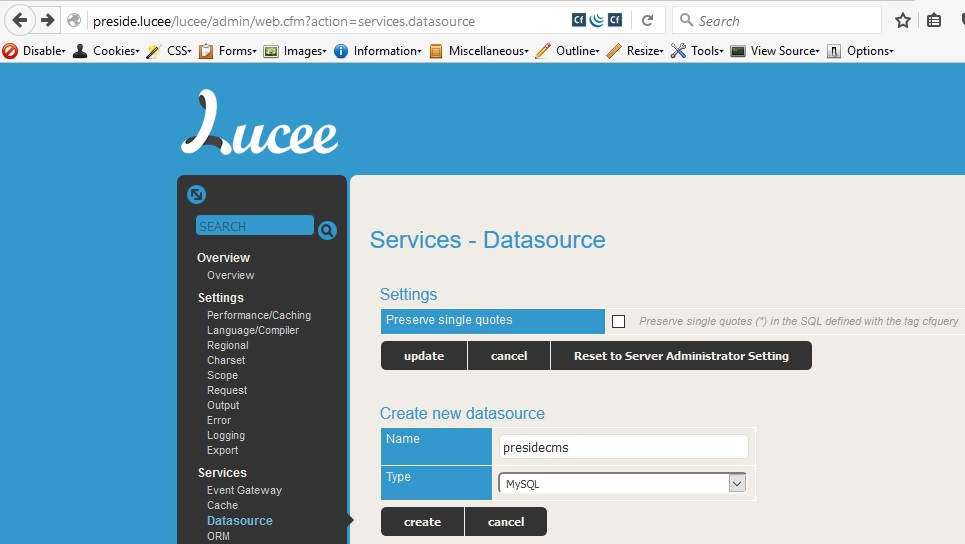
Create a empty database in MySQL/MariaDB or PostgreSQL or Microsoft SQL Server. Then create a DSN from lucee web admin as presidecms.
There are few options available to start a new PresideCMS site, download any one of these based upon your preference.
Delete your previous dummy index.cfm file & urlrewrite.xml from virtual host webroot, Please place downloaded theme in the web root. The basic setting for the CMS are stored in application/config/Config.cfc file. The previously created DataSource and a few other settings must be entered here as like below code snippet,
After replacing config.cfc, run http://preside.lucee/cmsadmin in your favourite browser, you could see first time set up wizard to create super admin of PresideCMS
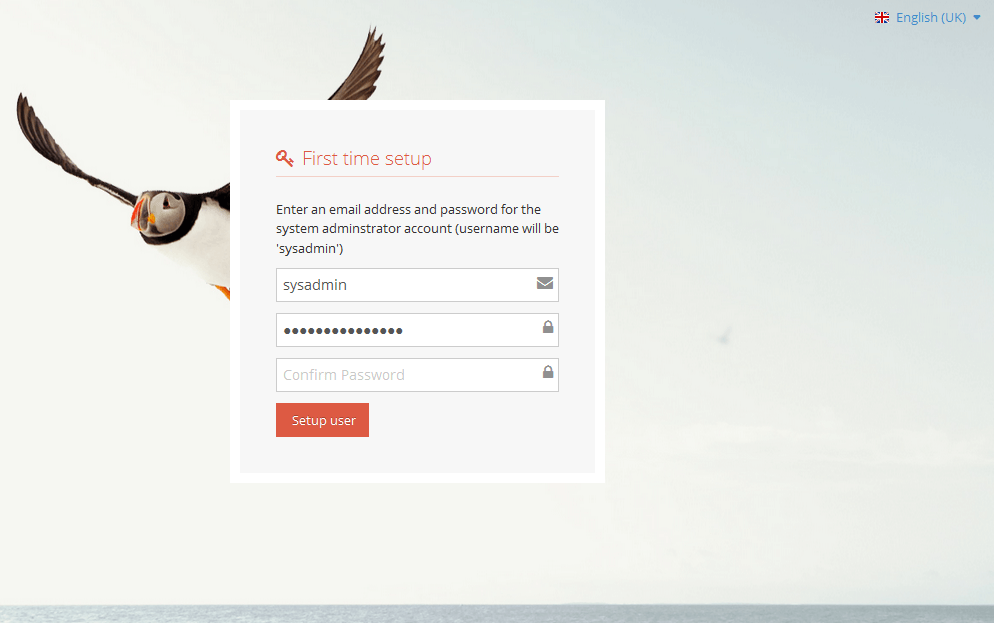
In the first box, enter your e-mail address. Then enter the desired password twice. Complete your installation by pressing "Setup user". You will then receive a message saying that your account is ready and you can log in. Now it is time for playing with PresideCMS awesome features. :)